你為甚麼需要學mailchimp?
行銷手法持續變動,許多行銷新玩法也造成不小的轟動,像是直播、影片、社群媒體….不管是甚麼手法,你獲得客戶名單後,需要的就是在行銷,而電子報行銷就是最低成本且最有效率的再行銷手法,這也是為甚麼我會寫”mailchimp教學”的原因。
以前研究過許多發送電子報的軟體,像是mail up 、sendgrid 、formget….用來用去還是屬mailchimp的功能最強大,此篇文章只會說明基礎mailchimp用法,若想要了解更多深入應用如A/B testing、automated…等功能,會在下一篇應用篇做更詳細的mailchimp教學。
內容目錄
Step1創建帳號
註冊mailchimp帳號
Step2 建立客戶名單
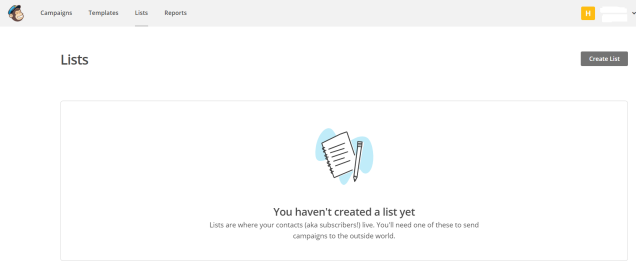
想要寄出電子報給客戶,要先導入客戶名單,因此先去List欄位,點選create list
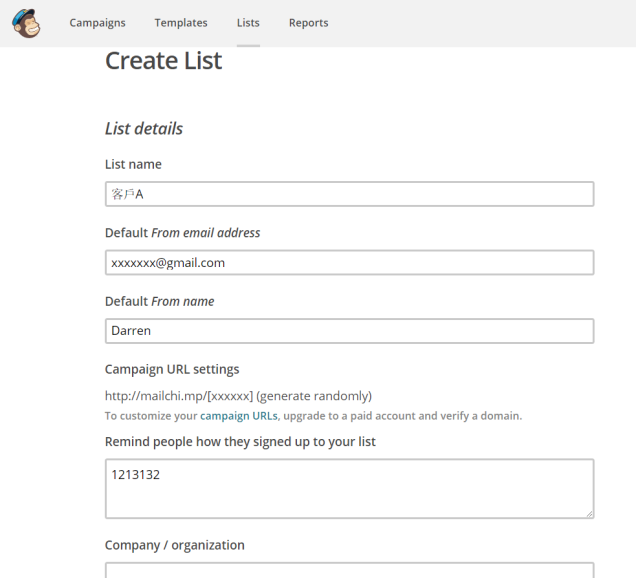
之後跳出的頁面會要求你填寫相關資料,依序要填入名單名稱(名單記得做好分類,以便之後的email 行銷)、顧客能聯繫你的信箱、你的名字、再來是寫出為甚麼這群客戶會在此份名單當中(單純提醒自己而已)、公司名稱,填寫完就可以按下創建名單
建立好名單的基本資料後,要來開始真正的匯入大量的名單了,mailchimp匯入速度非常快,即便你有數萬筆資料,點選Add contacts裡面的Import contacts,
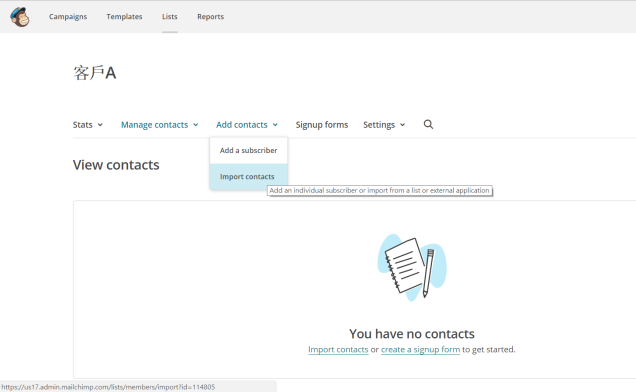
導入客戶資料的來源,分成三類,第一種是cvs檔案、直接copy、或是從其他地方導入EX 雲端
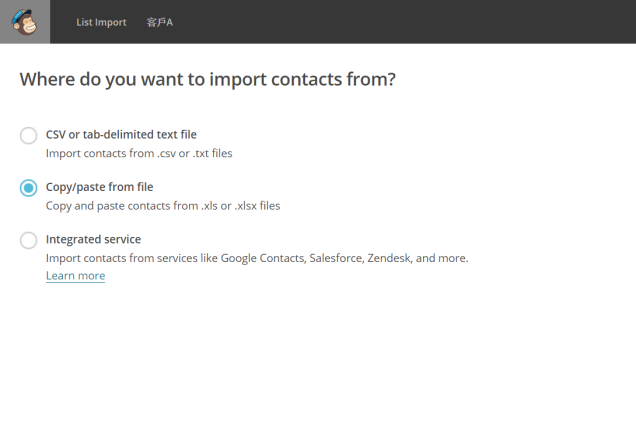
在此先以copy來示範
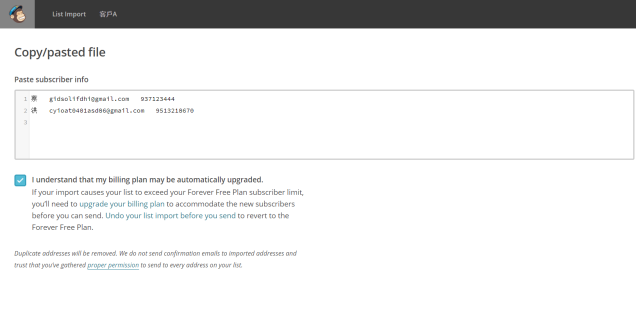
接著把資料歸到各個欄位,接著再按導入就完成了
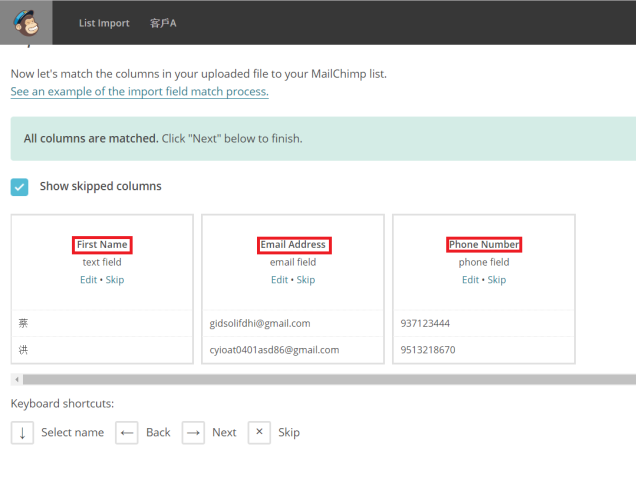
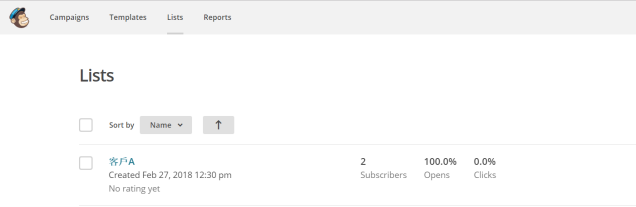
完成導入後就會看到兩個客戶資料了

Step3建立電子報
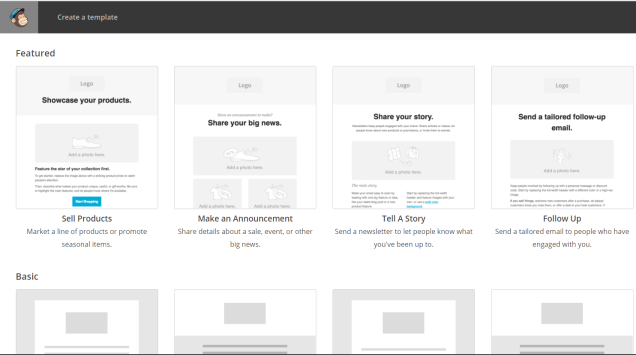
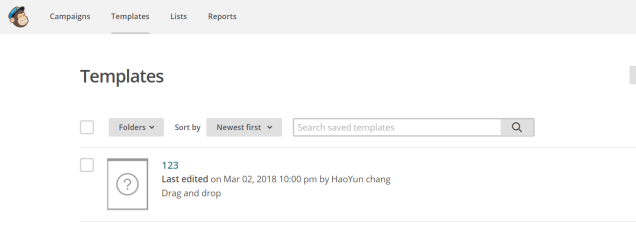
有了寄電子報的對象之後,就可以開始設計自己的電子報內容了,找尋template欄位,點選create template

之後就可以開始選自己喜歡的樣式了,有完全空白的也有許多幫你設計好結構的,當然這些都可以自己在做調整
選完之後,在自己調整並設定template的名稱後,就完成了
Step4建立活動
導入了客戶名單,有了電子報內容,點選Create campaign就可以開始發送電子報了
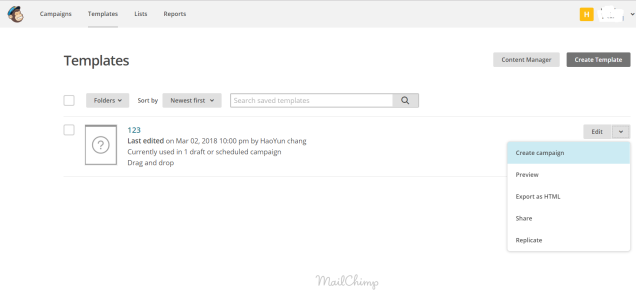
.
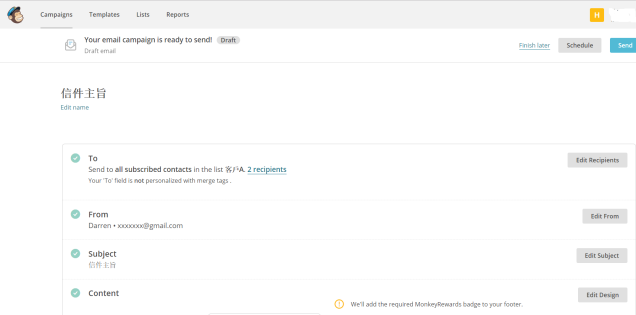
點進去之後,開始設定你要把這份電子報從哪一個email寄給哪一份名單,以及信件主旨…,設定完之後就可以按右上角寄出了
至於客戶到底有沒有開信,或是點擊裡面的連結、圖片….,可以回到list觀看